Posts

Showing posts from September, 2020

Transparencies - Windows and windshield

Image
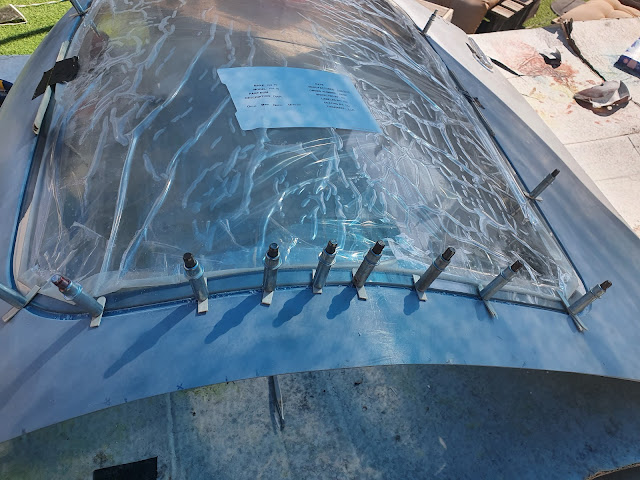
Following the Glastar Window installation with Silpruf   1. Marking perimeter 2. Masking window 3. Placing spacers 4. Final testing before gluing: 5. Rear passengers' windows: Windsheild, trial and error fittings of windshield Windshield permanently installed Windshield / Fuse layup:

Cabin heat and ventilation

Image
 

Firewall Forward !! FF01

Image
 Starting by installing the sender mount , fittings and oil pressure sender Oil cooler box Oil cooler rivetted and FW penetrations drilled: Nose wheel and engine mount installed! Control cables passthroughs:

Panel design , fabrication and assembly

Image
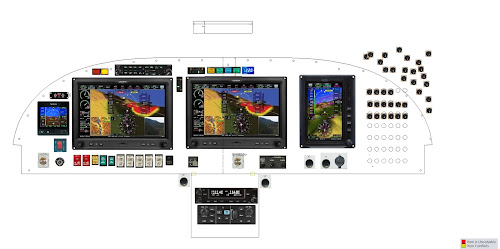
 Panel first draft and 2D sketch: Solidworks 3D modeling: Panel laser-cut and first installation try outs: Honeywell rocker switches installed and Garmin's GDUs: GNC255a NAV/COM and GMA245 audio panel installation structures: Harness fabricatin process: Installing completed harness to aircraft:

Final color scheme! design by Plane Schemer!

Image
 

Almost ready to fly

Image
Some progress mile stone:  

Section 49 - Seat belts (made by Crow safety)

Image
 

Section 46 - Landing gear

Image
Gear legs   Started by lifting up the airplane and inserted gear legs using a car jack Matco breaks:   U-1001 needs to be trimmed  to fit the AN822-4D fitting  Avner , Brother in law and a mechanical engineer/expert, dropped by for 2 days work at workshop, helped me complete the breaks assembly. Installing the breaks assembly on the wheels: Calipers and linings installed: Installing tubes and tires: Inflating and installing wheels! Calipers and wheels measurements per Matco intructions: https://static.veracart.com/matco/item_pdfs/3815/document1.pdf Recommended caliper spacing: 1.885-2"  was 0.3= Total: 1.37+0.256+0.30 =1.926" => within limits! Issue with axle nut hole: Encountered a problem with axle nut hole. After tightening the axle nut, the hole was located too close to the edge: After consulting with the forum, I shaved off 3mm of the U-01004 axle nut: And now hole is located properly: Used a thin saw to clear the threads:   Ready to get off the lift! as tempting as i